Basics of Plastic Injection Molding
-
 By
Lee Lechner
By
Lee Lechner - Aug 27, 2020
Whether you're new to plastics, trying to source your next project, or an engineer, in order to fully grasp injection molding, you must first understand the basics of how it all works. In this post, we're going to attempt to make it as simple as possible to help you learn what all goes into molding plastic parts.
What is Injection Molding?
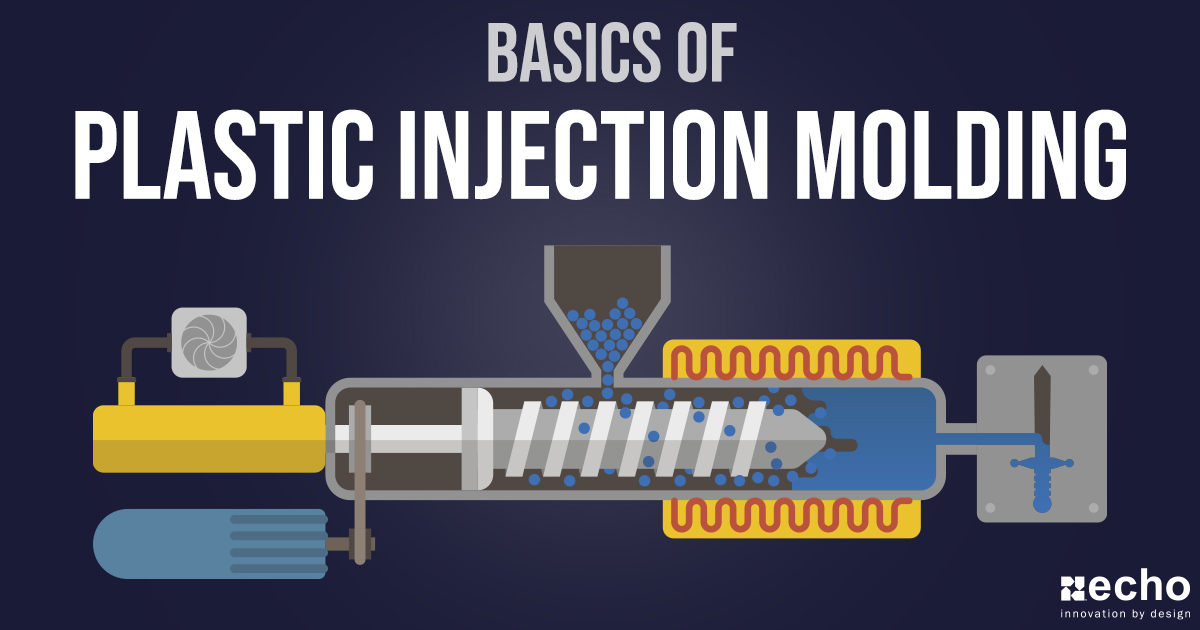
Injection molding is the most common manufacturing process for manufacturing plastic parts. The process involves designing the product, tooling up a mold, and then the manufacturing process of melting plastic resin pellets and using pressure to inject them into a mold.
GIF Source: Link
Plastic Injection Molding Process
In order to keep this as basic and simple as possible, we broke down the plastic injection molding process into 3 parts:
- Engineering Product Design
- Tooling Mold Design and Development
- Manufacturing Process
Engineering Product Design
Part design is going to be absolutely critical when it comes to manufacturing an injection molded part. You have to ensure the part is designed with the injection molding process in mind.
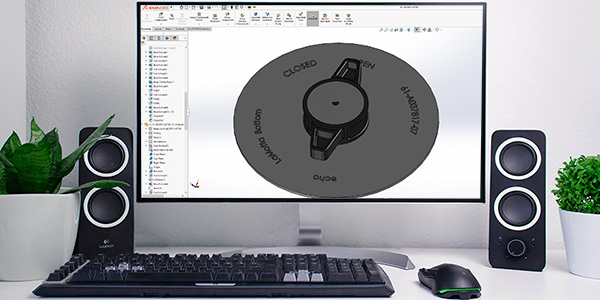
Some Critical Product Design Elements Include:
- Having uniform wall thickness to avoid sink marks and voids
-
Draft Angles in order for the part to effectively eject the part from the mold
-
Defining the material selection at the design stage is critically important to ensure performance characteristics can be met since each material has a different shrink, melt, and flow rate a material change can cause parts to underperform or fall out of tolerance
Another aspect of product design that is often overlooked is part tolerance for injection molding. There are many reasons why injection molded part tolerances are wider than metal, such as shrink rate isn’t a uniform percentage (they are averages), tool layout (closure vs fixed dimensions), wall thickness, injection location, pressure, and material flow all play a vital role in what is possible and repeatable. Anyone can make a good part once, but who can make 100,000 or 1,000,000 pieces repeatably is what matters in manufacturing.
Tooling Mold Design and Development
The quality of a part starts with a quality built mold. A common mistake we all make when shopping for a new injection molded component is trying to cut corners to lower mold costs. If the tool is not built correctly you will have quality issues down the road, it may be 1 month, 6 months, or 2 years down the road.
In order to prevent defects and meet specific quality specs, you and your toolmaker must work together to develop a mold that will correctly make the parts you're wanting. This is a complex task as the mold design will sometimes require part redesigns.
Tools are typically made from hardened tool steel or aluminum, based on what you're needing. Aluminum tooling is typically used for prototyping or when a low quantity of parts is needed. Steel is the more expensive material but is typically the longest-lasting of the two options. Manufacturers that are in need of 10,000+ parts will almost always stick with a steel mold.
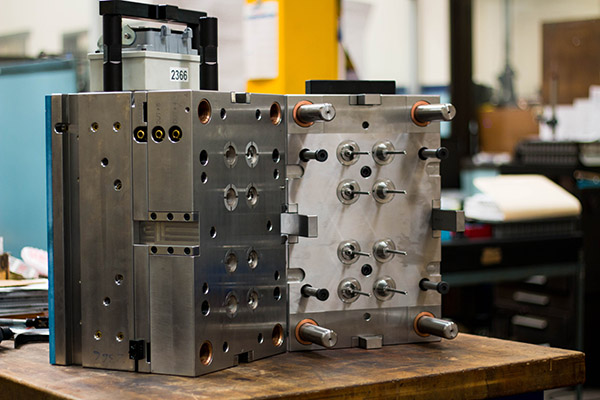
Mold Design Elements:
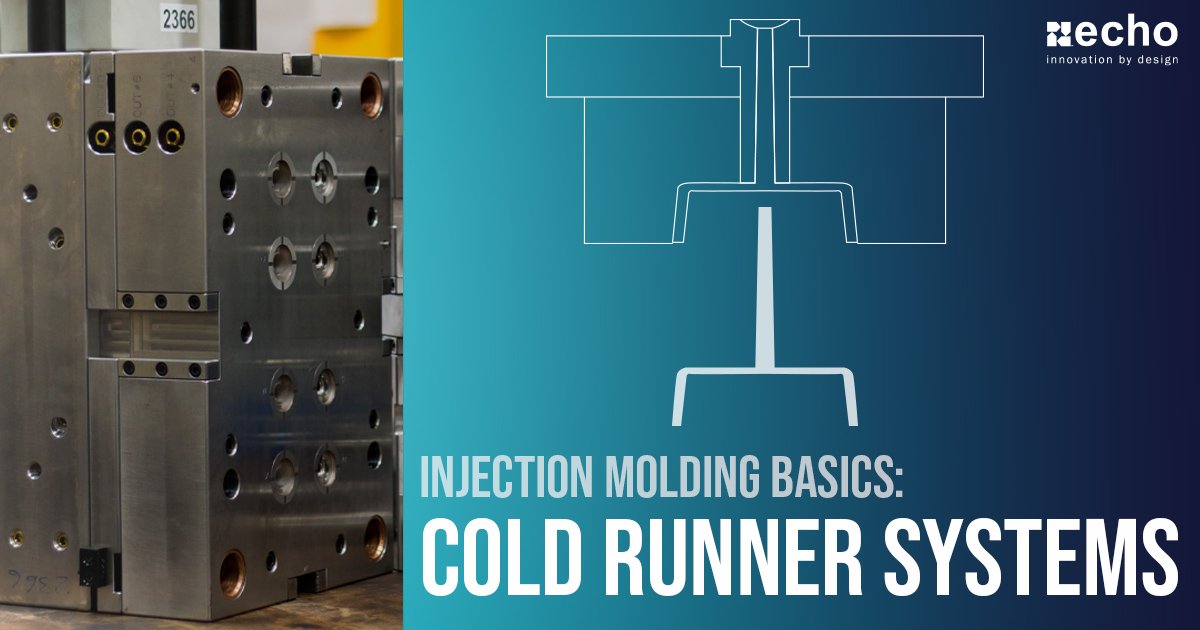
- Gate / Runner Location: This is one of the most important factors to consider during the Filling Stage of the injection process
- Coolant Lines: Poor placement or inadequate number of cooling lines result in long cycle times and warpage
- Shrink Rate: Shrinkage is generally between 0.4 - 2% and must be taken into account by the mold designer. The exact amount of shrinkage depends on several factors, including material, process conditions, and gate location
- Part Tolerances: The tolerances and performance requirements are critical to define prior to launch. It impacts how the tool is built, impacts where to stay “steel safe” with the tool, where to inject the material, and where to eject material. We are seeing more and more parts that are designed using metal tolerances, this drives up costs and extends lead times drastically. An over tolerance part can make or break a tool budget due to the additional steps, stages, or quality checks needed
Drawbacks of Injection Molding:
- High Tooling Costs: Tooling cost is determined by the number of pieces needed (how many cavities will be required), part complexity, and part size. While single cavity prototype tooling can be around $3,000-$10,000, in the automotive industry, injection molding tools can range anywhere from $10,000 - $100,000+.These are highly complex tools that are made from large blocks of hardened steel and are handcrafted to last.
- Long Lead Times: Similar to the tooling costs, the lead times are impacted by the part complexity, size, and cavity requirements. Most companies also require prototypes before final approval of production pieces, which only adds to the final lead time. Typically, what you'll see is that a simple mold can be ready for use in 2-4 weeks, but a complex tool may take roughly 6-10 weeks.
- Difficult to Modify: Since the tools are made from steel or aluminum, it can be fairly difficult to make changes. If you want to make a dimension of the part slightly bigger, you can always make the cavity bigger by cutting away from the metal. But, if you are wanting to make the part smaller, you have to decrease the tool cavity's size, which would require adding steel or aluminum to it. This is a complex process, and it will occasionally require you to start over and scrap the tool. This is why using a prototype mold first is highly important.
Manufacturing Process
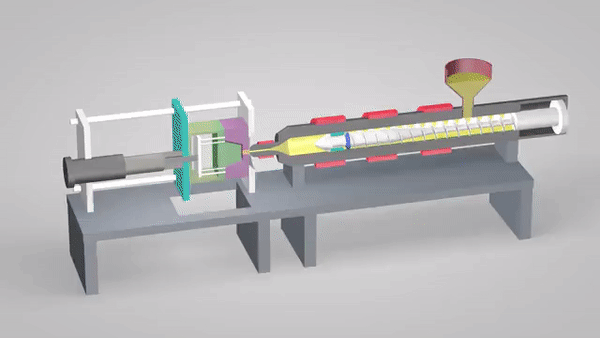
To keep the manufacturing process as simple as possible, we broke it down into 5 stages. Each stage is important and plays a vital role in part design and tool design. The 5 Stages of the Plastic Injection Molding Manufacturing Process includes:
1 - Filling / Melting Stage: The injection molding process begins by filling the hopper with plastic pellets that feed into the screw barrel of the injection molding machine. The heater bands help with melting the pellets, but the resist actually melts due to it being compacted by the tapered screw. This is because the pellets are 'rubbed' together, generating sheer heat. By the end, the pellets convert into a molten state.
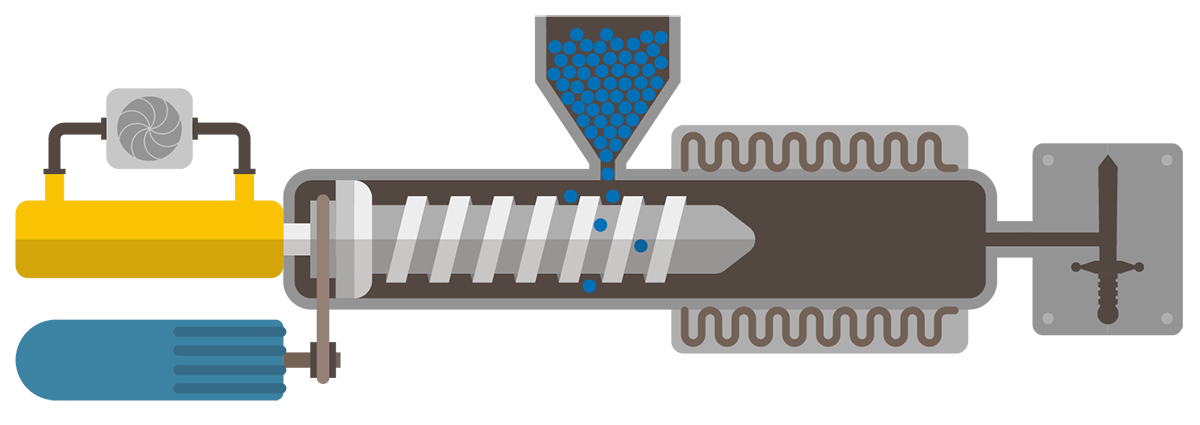
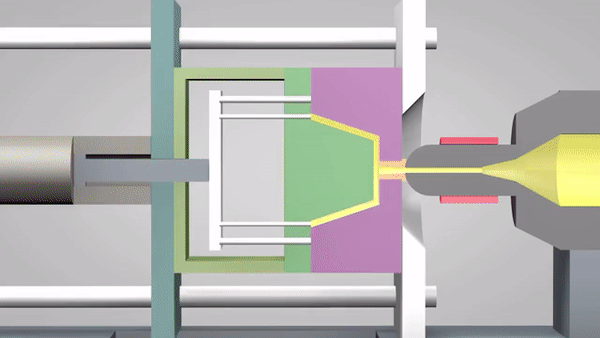
2 - Injecting / Packing Stage: Next, the screw pushes the molten plastic into the mold cavity where it takes form and begins the cooling stage. This phase is important because if not enough pressure is used, the cavity will not be packed completely, resulting in quality issues. Part size and cavitation will determine the injection molding press size that is required.
3 - Cooling Stage: Coolant lines, typically filled with water, run through the mold to maintain mold temperature, which helps to cool the part faster. This is highly important as the cooling phase is the most time-consuming stage of the injection molding cycle due to plastics' insulating properties. When the plastic cools and solidifies, it shrinks (referred to as "mold shrinkage"). Shrinkage is generally between 0.4-2% and must be taken into account by the mold designer. Depending on the material being used, you may need to cool the mold, or you may need to heat the mold using cartridge heaters or hot oil.
4 - Ejection Stage: Once cooled, the mold then opens and the plastic part is ejected by the mold's built-in ejector pins. If you take a look at most plastic parts you have laying around the house, most likely you'll be able to find ejector pin marks. The mold will then reclose to repeat the process
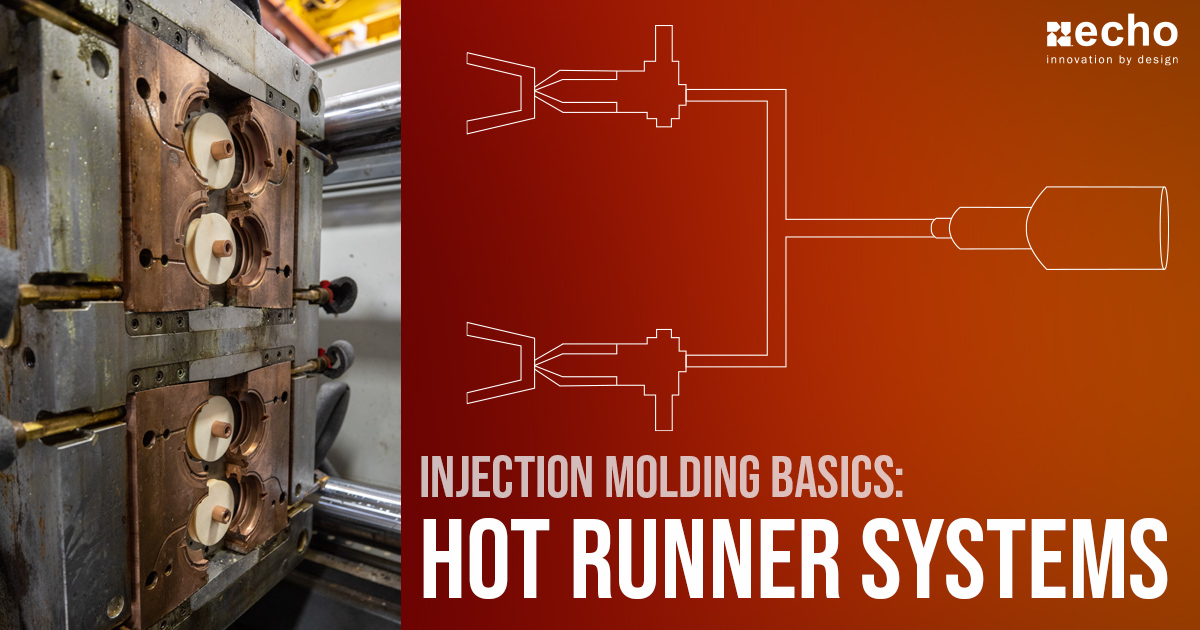
5 - Post-Ejection Stage: One of the last stages of this process is when a machine operator has to break off the sprue, runner, or gate from the molded part by twisting or cutting it off manually, depending on the mold design. A hot runner system actually eliminates runners and sprue, which also eliminates wastes. Unfortunately, hot runners will make the tool more expensive.
Video/GIF Source: Link
Conclusion
Plastic injection molding has made a ton of advancements over the years, and it's a fantastic way of producing components at large scale with minimal labor requirements. While it seems like a relatively simple process of melting plastic pellets and injecting into a mold cavity, there are so many critical elements of the design, tooling, and manufacturing process that will require you to work with and injection molder that knows how to meet your specific requirements.
About Echo Engineering & Ammex Plastics
Echo Engineering and Ammex Plastics specialize in plastic injection molding, dual molding, and over-molding parts that range from protective shipping caps to some of the most complex injection molded automotive fastening, connecting, and suspension components that can be found throughout a vehicle. Our capabilities range from design, engineering, simulating, prototyping, testing, and manufacturing in order to give our customers the best overall injection molding services.
We take the time to understand what role the component plays in your manufacturing process or product development so that we can confidently recommend a solution that meets your needs - and surpasses your expectations.
You May Also Like...