E-Coat Masking Basics
-
 By
Lee Lechner
By
Lee Lechner - Feb 8, 2022
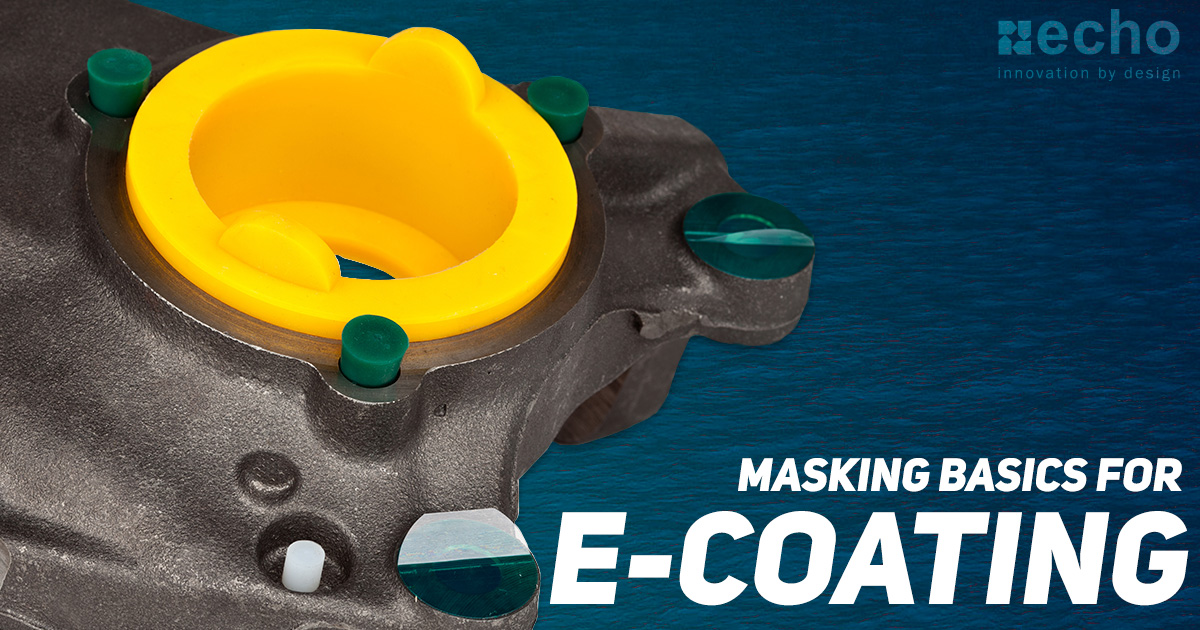
E-Coating (electrocoating) is a finishing process introduced back in the 1960s. E-Coating is an immersion-based wet paint finishing process, using electrical current to attract the paint to the metal surface. The form of coating comes with several perks, such as being able to coat all the surfaces that come in contact with the solution, including complicated hard-to-reach shapes. What also makes electrocoating great is how it is an excellent option for giving vehicles and machinery a much-needed anti-corrosive coating.
One aspect of this process that doesn't get much attention until the last minute is the masking process. In this post, we're going to take you through the basics and fundamentals of effectively masking for pretreatment and e-coat processes.
The challenges with masking when it comes to electrocoating are developing a way to completely seal out the pretreatment and paint, as well as being able to withstand a high-temperature curing process (typically between 185F - 375F).
Areas That Typically Need Masked
When it comes to electrocoating, masking is not as commonly used for cosmetic purposes (such as two-tone paints) as it is for powder coating. Typically, what you'll see is that it's used for performance and tolerance requirements related to:
- Threads (Thread holes and bolts)
- Bores
- Pins
- Mating Surfaces
- Grounding surfaces
E-Coating: When & Why Masking Is Needed
One of the major purposes of electrocoating is that it is typically used as a primer coat to fully coat complex shapes as to give the component corrosion resistance. This is extremely important for applications within the automotive, heavy machinery, and lawn and garden industries.
The importance of masking prep for e-coating processes is to keep paint from reaching specific areas. This can be for cosmetic reasons or for quality requirements, such as keeping paint off of threads as it will result in tolerance-related issues.
- Grounding Surface: E-Coat can impact electrical grounding, and may need to be masked off
- Tolerance Requirements: When the addition of paint to the surface results in your product being outside of the tolerance range, masking will most likely be needed. This will be vital for mating surfaces and exposed threads
- Avoid E-Coat Pooling: Depending on your process, lack of masking off threads can potentially result in pooling
- Improved Product Quality: Masking will not only give you a cleaner look but will also help prevent paint-related quality issues
- Remove Secondary Ops: Nothing is going to kill your bottom line like having to hire more line workers to fix masking issues or re-tap threads
- Decrease Reject Rate: We've seen automotive manufacturing lines, that at one point had to toss 50% of their products due to a masking issue. This is one of the most extreme cases, but no matter what, having to toss a product as a result of a masking issue will eat at your profits. Putting extra effort towards finding the right masking solution can not only reduce this but in many cases, prevent the need to scrap your line's work completely
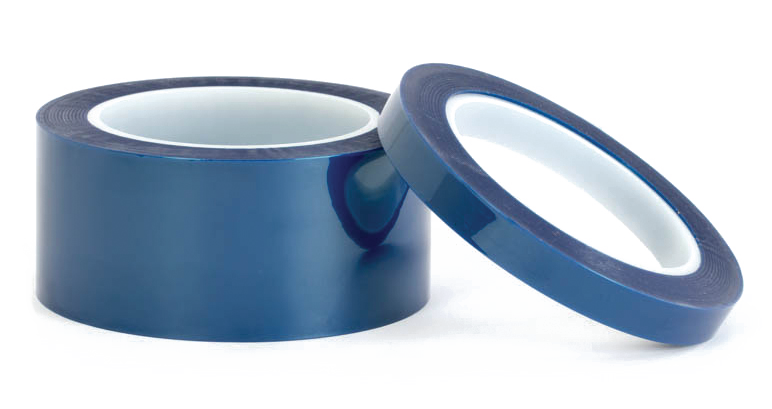
Recommend Masking Tapes for E-Coating
When it comes to finding a masking tape for e-coating applications, you need to find a material that will leave a clean line, withstand high temperatures, and can provide a solid masking seal to keep paint off the surfaces you want to keep clean. Because of this, you'll want to AVOID porous tapes, such as glass cloth and crepe tapes.
The most commonly used tapes are made from heat-resistant polyester material and silicone adhesive. With that said, here is the list of our top recommended masking tapes to use during e-coating.

Masking Plugs for E-Coat
The most common method for masking off threaded and non-threaded holes is via the use of a silicone masking plug. The name of the game here is getting the right fit. E-coating requires a tighter fit to achieve an effective seal. This typically means slightly oversizing the plug even more than you may see in applications, such as powder coating.
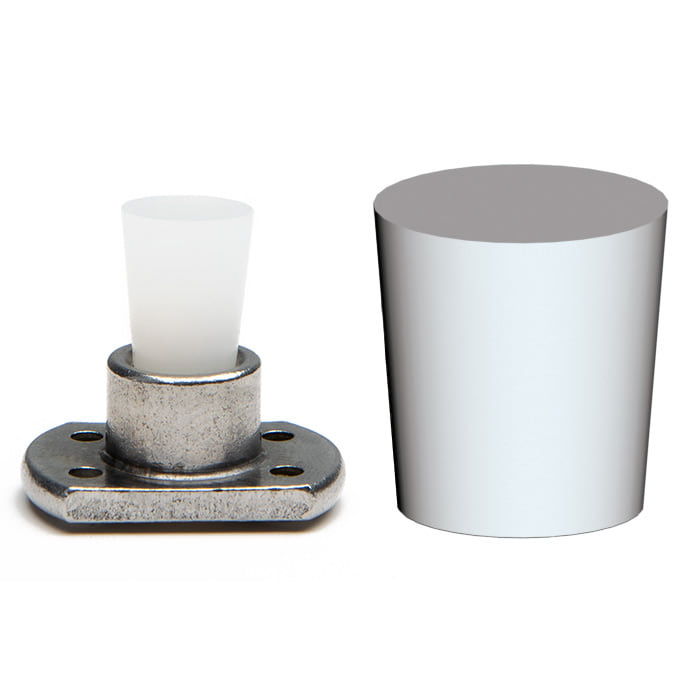
Silicone Tapered Plugs
Masking a blind hole will most likely require the use of a push plug. The most commonly used plug for e-coaters is the silicone tapered plug (shown above)
Sizing: The ideal size of a tapered plug will line up with the top of the hole near the midpoint of the plug
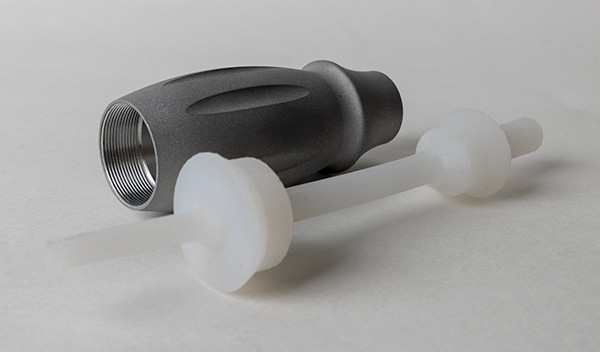
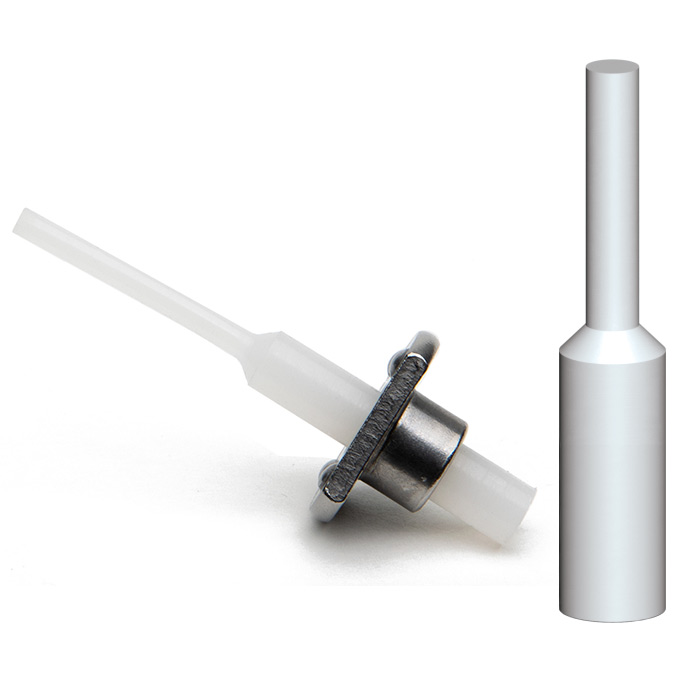
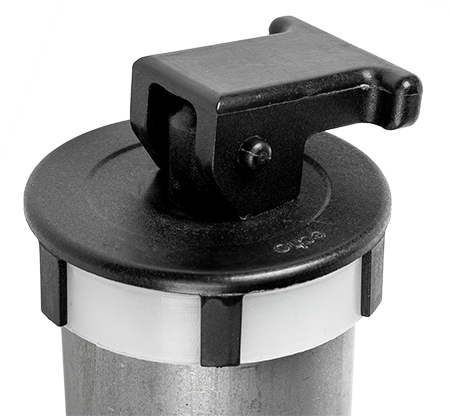
Silicone Pull Plugs
Masking a through-hole will most likely require the use of a pull plug. The most commonly used plug for e-coaters is the silicone pull plug (shown above)
Sizing Rule of Thumb: Oversize the pull plug by .030".
Example: If masking .250" hole, you'll want to select a plug that has a diameter of approximately .280" thick
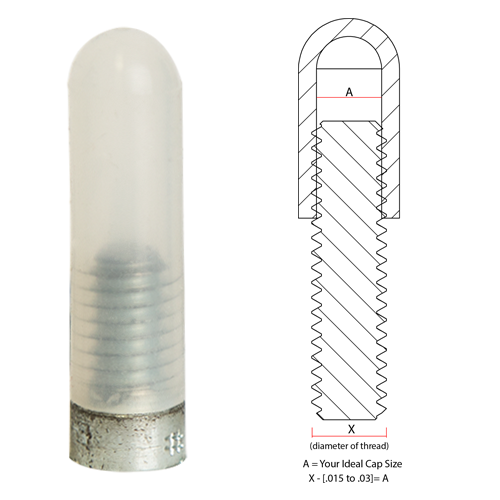
Masking Caps for E-Coat
The most common method of masking exposed bolts and studs is by using a silicone straight cap. Instead of oversizing like you would plugs, masking caps requires you to undersize them in order to get an effective masking seal.
Rule of Thumb: Undersize the inside diameter of the cap .015" to .030"
Custom E-Coat Masking Solutions
Custom masking for e-coat applications is done by designing and developing custom components that will be used during the process. When you choose to go with a custom masking solution, the product will either be molded or die-cut. In most scenarios, both of these methods will most likely require some form of tooling.
Molded masking products will usually be manufactured using compression molding. This will require a tool to be machined and treated, followed by the actual molding of the product using, typically, high temp grade silicone. The drawback to this option is that it will take several weeks before parts are in hand.
High production custom die-cuts will most likely require the need of a rotary die-cut tool. Very low production requirements will typically be developed using either an overhead press or, most likely, a plotter.
When To Go Custom:
- You have a high-production line that needs to maximize efficiencies. Custom solutions typically require an initial tooling investment
- You're spending more on time and labor due to secondary ops than you would on a custom masking solution
- You have tight tolerance specs for masking related requirements
- None of the standard options work for your application
Custom Masking Process
Custom masking can be a complex process depending on the requirements and scale of your project. Because of this, it's important to choose a masking provider that specializes in design engineering and manufacturing. To give you a better idea of what this process looks like, here are the fundamentals that go into a custom mask from start to finish:
- Design: This is the initial stage where you discuss what you're needing to mask and what your expectations are. Engineers will then take that information and develop either a custom-molded mask (such as a silicone cap) or a custom die-cut tape mask.
- Prototype: Once you've agreed upon a design, the next step will be to prototype the part out. This step used to take several weeks, but Echo now can produce molded parts in only a few days (learn more about our prototyping system). This goes for custom die-cuts as well with our in-house plotters.
- Test: Once you have prototypes in hand, you're able to test them out to ensure they get the job done.
- Production Kickoff: If all went well, next up is kicking off production tooling. Typically, with custom molded masking, this process will take a few days to design, machine, and complete the steel molds. Once the molds are completed, we begin to mold the custom products. The time it takes to mold everything will most likely come down to the size of the part, # of pieces required, # of cavities cut in the mold, and the number of molds that were produced.
Check out what our new rapid prototype process looks like in the video below. Obviously, this video shows a powder coating demonstration, but designing and molding of the product will be the same, you'll just end up testing the parts via your finishing line once received.
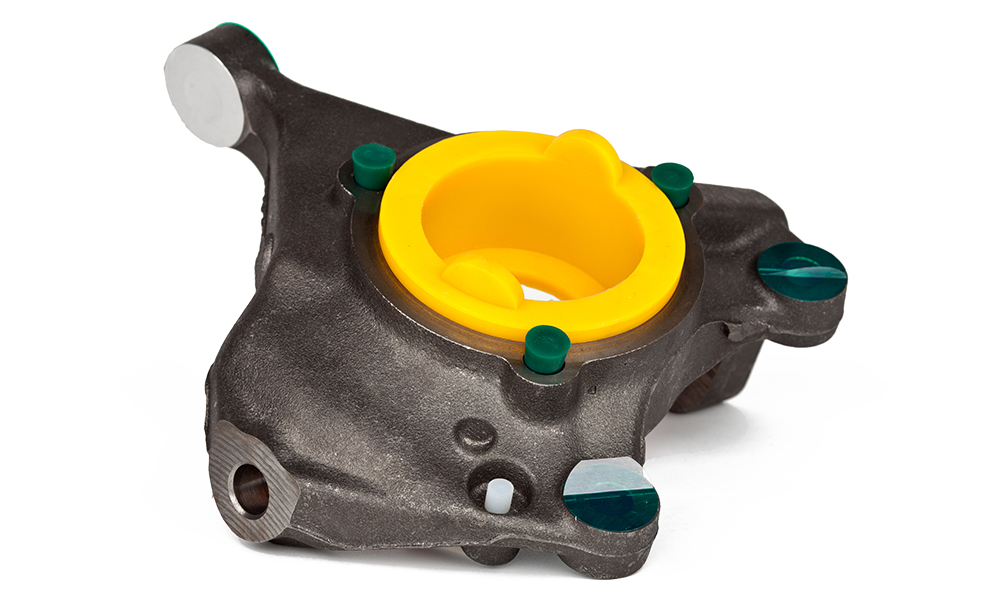
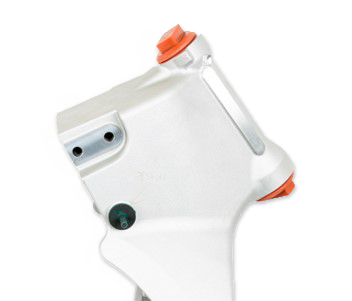
E-Coat Custom Masking Examples:
Conclusion
We're going to sound like a broken record here, but masking during e-coating is all about sealing and temperature resistance. It comes down to ensuring you choose the correct material, size, and shape.
Our goal here at Echo is to ensure you're able to move to production with complete confidence that your masking will not only work but also reduce the time needed to apply and remove. If you have a question, want to test out samples, or would like to request a quote, fill out the form below and we'll get back to you ASAP.
You May Also Like...