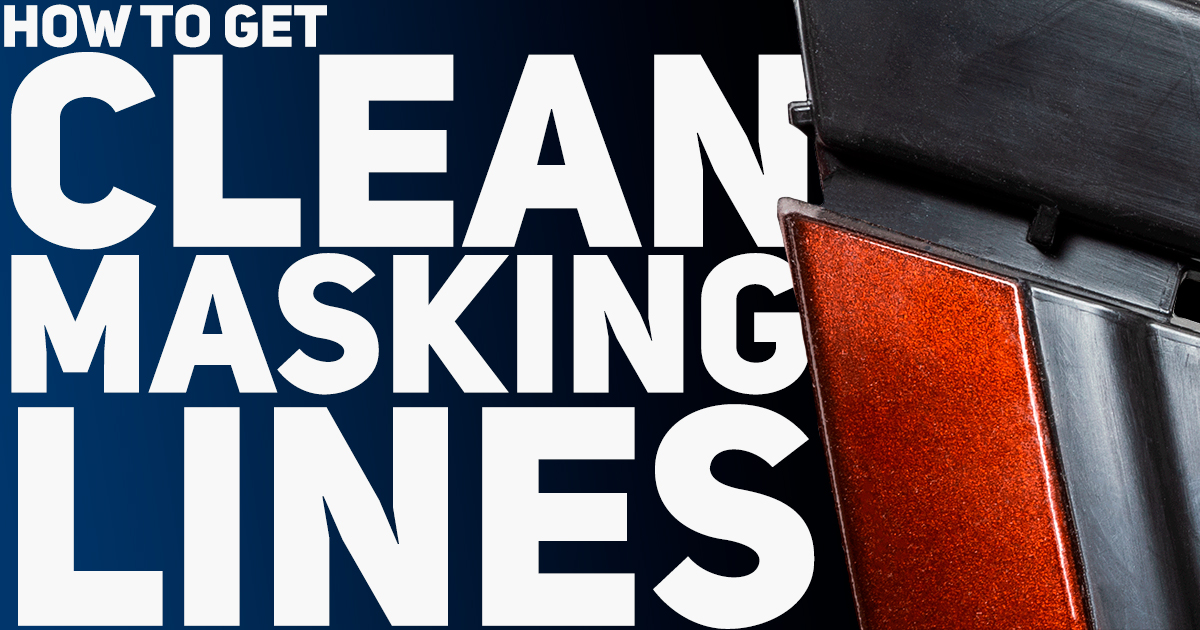
Masking Tips - How to Achieve Your Cleanest Masking Lines Yet
-
 By
Lee Lechner
By
Lee Lechner - Aug 23, 2022
How do your customers judge your work? Is it how fast you get it done and how much it cost them? Those are probably a factor. But what if you're fast and the best price, but your customer sees cracked lines, threads with paint in them, and mounds of powder build-up where you masked something? Do you think your customer will return with repeat business or refer someone else to you?
Achieving crisp, clean masking lines is not always an easy task. It takes knowledge, skill, and the best tools to get the results you're looking for. In this post, we're going to take you through both masking tape tips & tricks as well as rubber molded designs to improve your results and help prevent common coating flaws.
Clean Lines with Masking Tape
In general, when it comes to masking, you usually need to use tapes for the crisp lines due to their ability to adhere and conform to the surface with adhesives and their thin profile. But that doesn't mean you just simply slap some on and rip it off when you feel like it. There are still technical aspects of these products that you need to know to create a clean masking line, so let's go through them.
When Should You Remove Masking Tape?
For high-temperature powder coating processes, you'll want to remove the masking tape either after the powder has started to melt into its gel state (see GIF as an example of gel stage), which is typically when it is around 180F-200F, or as soon as the part comes out of the curing oven.
Suppose you wait too long to remove the tape. In that case, you may experience the adhesive caking onto the surface (especially if the temperature exceeds the tape's max rating), or you'll most likely run into the tape flaking the powder off, leaving a messy masking line.
How Should You Remove Masking Tape?
When you want to remove the masking tape, pull the part(s) out of the oven first. To remove the tape, it's best if you were to use a tape that had a pull tab of some sort to grab onto quickly. If not, you'll want to use precision tweezers, an X-Acto knife, or anything else you may know that will make the process as smooth as possible while avoiding touching the coated portions of the part.
When removing the tape, pull up at a 90° angle. The 90° aids enough force to successfully remove the tape from the surface without disrupting the line.
The last tip when removing the tape is to be conscious of the thickness around the tape. Go slow when pulling off the tape for thicker lines. If you're removing tape from a thick coat, there's a higher chance of experiencing uneven lines.
Pro Masking Tape Tips
- Ensure the tape is applied to a CLEAN SURFACE, or it will impact the adhesion, resulting in messy lines.
- Tape's Temperature Rating - If your curing oven is at 450F, you might not want to use tapes like green poly rated below.
- Apply pressure to the tape when it's installed. There's a reason why it's called "pressure-sensitive adhesive." The adhesive on the tape needs to essentially bond with the surface to create a leak-proof seal.
- Dwell Time - Allow the tape/adhesive some dwell time after applying pressure to give it some time to bond appropriately to the surface.
- Tape Thickness - If your coating is thicker than the tape you're using, you'll most likely get some form of bridging over the tapes, resulting in rough masking lines.
- Avoid MEK - Do NOT use Butanone (Methyl Ethyl Ketone – MEK). Butanone breaks down the adhesion in the tape.
- Cold Temperatures - If you store your tape and the part you're masking in a cold area (especially during the winter), it will negatively impact the adhesive bond. Try to keep everything at least at room temperature (Approximately 68F - 75F) for best results.
Download your FREE Powder Coating Masking Guide
Echo has been creating powder coat masking solutions for well over 50 years. So we wanted to pay it forward and share some of that knowledge in an easy-to-navigate masking guide - and all for FREE!
Clean Masking Lines with Rubber Molded Masking Products
It can be tough to get a crisp edge when masking with rubber molded masks. If the mask is well designed and used correctly, you can get a reasonably clean edge, but if you want to get closer to a near-perfect crisp edge, you'll most likely need to use tape.
In many cases, especially in the automotive world and large volume paint lines, we've seen that tape is typically not an option as it is a very time-intensive process. So, let's take you through what the most prominent brands out there do to achieve their cleanest possible masking lines with rubber masking parts.
Defining Your Masking Hard Line
Due to the difficult nature of achieving super crisp lines with rubber molded masks, it's crucial to first look at your project and define where you need the masking line to be clean. What we've seen with some of the bigger brands we've worked with is they typically go down one of two paths:
- They need to have certain surfaces be 100% paint free and are willing to allow a slightly rugged edge where the paint is at. Some of these companies with buff the rough edge
- Other paint lines will use a feathering technique and then buff the paint off. In some cases, they will even let the feathered paint remain when it's typically not a critical surface and not seen by the end consumer. Below we go into more depth about what feathering is
Feathering
When it comes to powder coating, feathering is essentially one of two things:
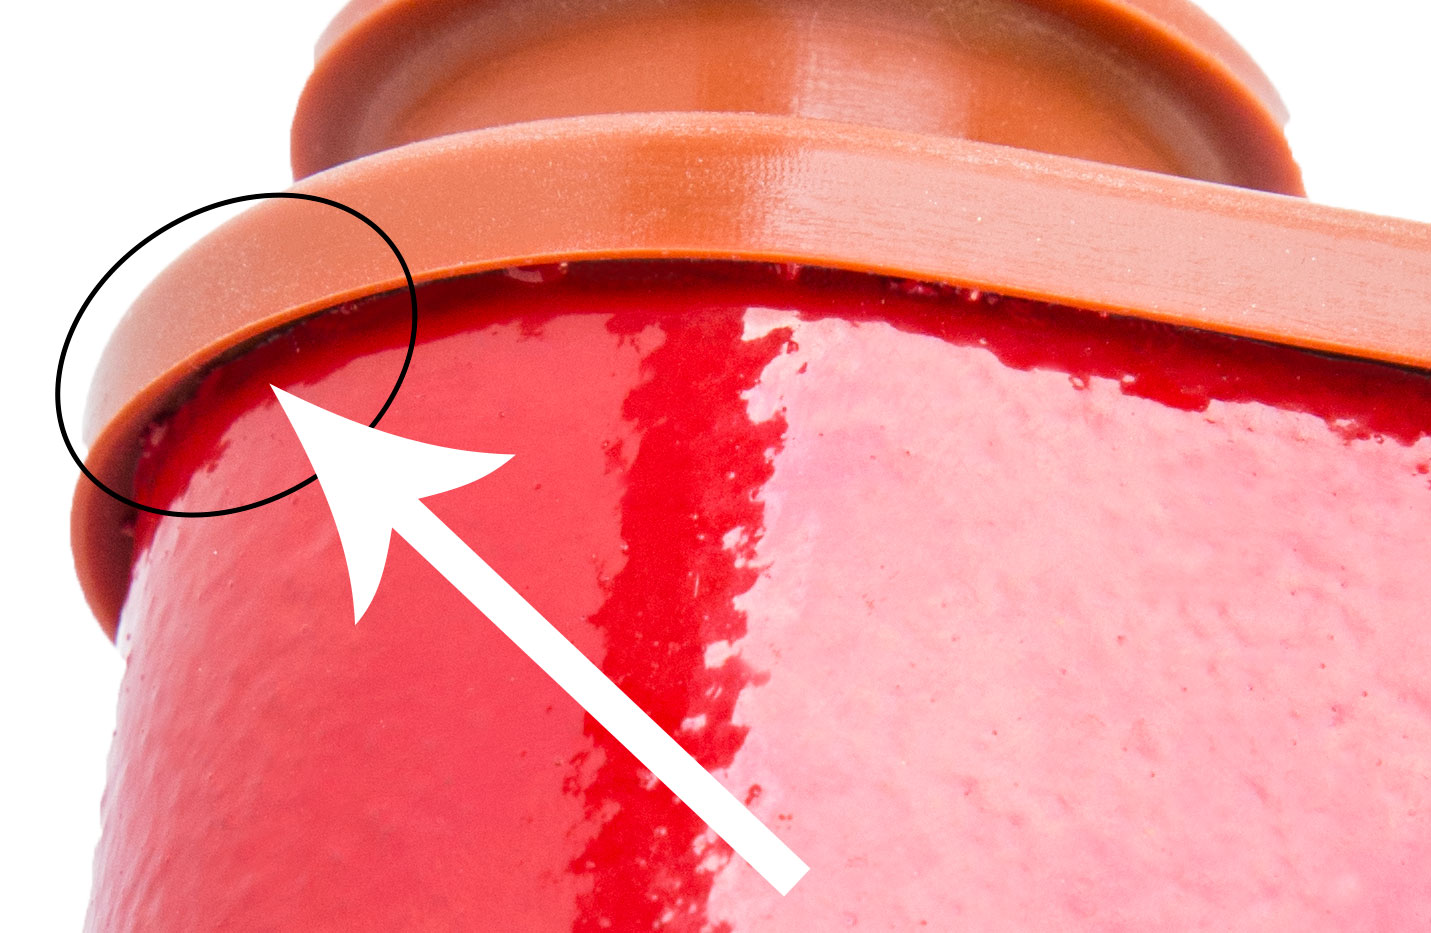
- You're either using a masking product that tapers the powder down towards where the mask meets the surface to help reduce the amount of buildup that occurs (see the image here demonstrating a flange used to help taper the powder towards the edge)
- Or you'll have powder that oversprays onto the surface that you want to keep clean to ensure the coated surface doesn't have paint buildup. This is where you can either leave the feathered paint effect as is or buff it off for a clean surface.
Reducing Powder Buildup / Bridging
Bridging is the term used to describe the paint/powder that builds up on transitional points of the surface. This is typically around masking caps & plugs. There are a few methods we've used to combat this:
- Skirting - This method typically uses a flange wrapped around at an angle, like an umbrella or a skirt (see GIF example). What this does is help to force the powder to taper down towards the transitional point.
- Tapering the Edges - Another method is tapering the masks' edges to a smaller angle to help minimize the bridging build-up.
- Bull nose - Just like tapering the edge & skirting methods, bull nose designs have also been used to help rounded ends taper back in and down, which allows for a feathering instead of just powder building up.
Conductive Masking
When it comes to feathering your paint line, one option available out there to improve your results is using masks made from a conductive material. When it comes to powder coating, this typically would be red iron oxide silicone or silicone with carbon black additive. This helps attract the coating to the mask itself to help ensure the paint doesn't get attracted to the surface of the part you want to keep clean.
Miscellaneous Tips
- Masking off Large Areas - For large surfaces where you want crisp lines, we suggest using a combination of rubber and tape or aluminum foil with tape. You just need something you can tape on that will withstand the high temperatures.
- Wiping Off Powder - If you end up not using masking supplies, and instead wipe the powder off with your finger, damp your finger for better results. Please note to be careful with using hand cream/moisturizer if you're wiping the powder off with your hand, as several options out there contain silicone that can result in coating quality issues.
Conclusion
Your perfect finish for a powder coated part will have crisp, clean lines when applicable. This isn't always an easy task. So, to summarize everything we covered in this post, it's all about knowledge and skill of surface prep, material selection, application, and the right masking tools to achieve the clean lines you're looking for. Without doing this, you'll likely need to invest time and resources into your secondary operations, possibly requiring an offline work cell.
At Echo Engineering, we work daily with powder coaters to design, manufacture and implement masking solutions that meet tight tolerance requirements. If you're looking for suggestions or want to get a custom masking project going, fill out the form below, and our team will get back to you as soon as possible.
Related Posts