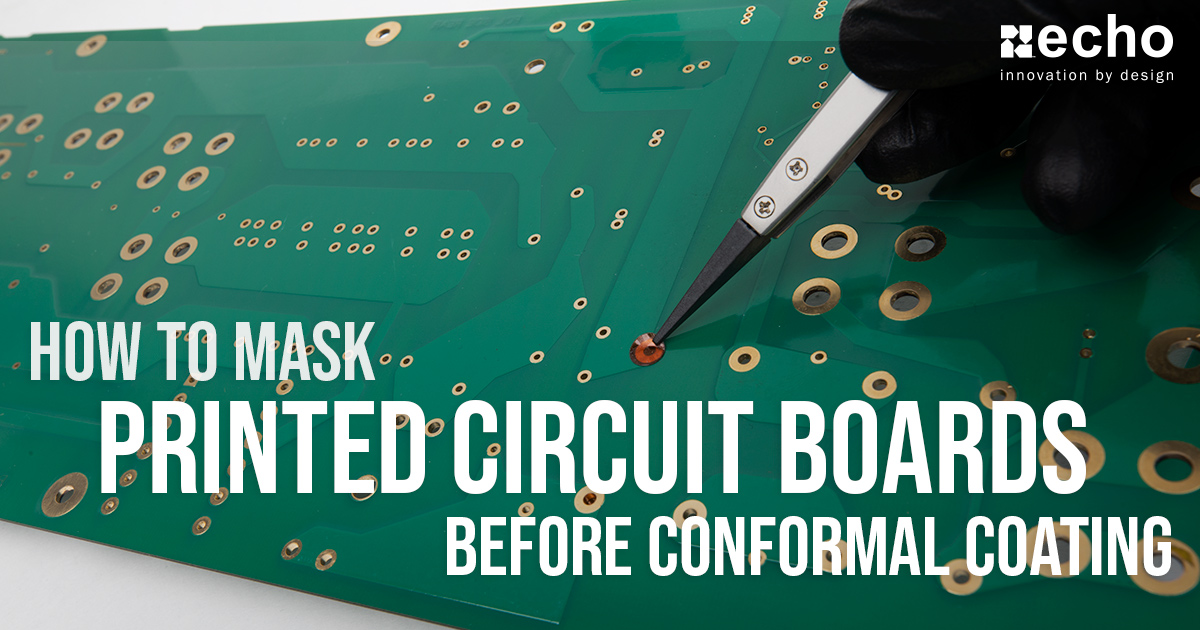
Masking Tips to Reduce Your Rejection Rate
- By Echo Engineering
- Aug 12, 2020
What if I told you I could help save you time, money and your sanity? Well, I can. Do you experience overspray, leakage or coatings that look just plain bad? Those are common issues that happen when you’re not using the right masking materials. Let’s fix that. Here’s the break down on how to mask effectively in order to reduce rejection rate, rework, labor cost and ultimately your frustration.
Choose the Correct Cap or Plug
When you’re not using the right cap or plug, there will be problems. You’ll get paint where you don’t want it, you won’t have a consistent product and you won’t have satisfied customers.
By using the correct size of caps and plugs, you can significantly improve the quality and consistency of the finished product. The following information will help determine the sizes needed.
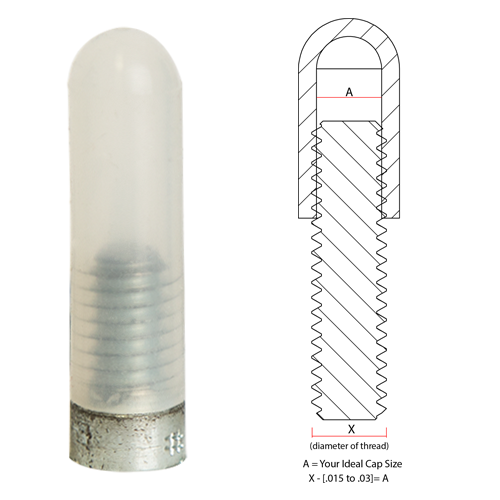
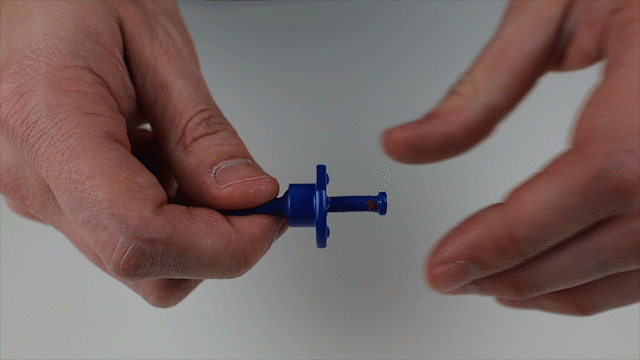
Masking Caps - How To Choose The Right Cap Size
Choose the cap that has an inside diameter (A in graphic) of the nearest size below the diameter of the stud you are masking and test it out. If your stud is .242”, choose the cap that is .234” (Part Number: 49-0000234-01500 or 49-0000234-01000).
A More In-Depth Look:
Measure the diameter of the stud you are masking. The recommended undersize is .015” to .030”. Subtract those from the stud diameter to find the range your cap size should be in. Choose a cap in that range. Which cap? That depends on how tight you need the cap to be for your process. Plating, e-coating, anodizing, etc. will need a tighter fit to prevent leakage.
For example: say the stud above has a diameter of X = .242”.
Subtract .015” to .030”, the undersize range.
.242” - .030” = .212”
.242” - .015” = .242”
So A comes out to be between .212” to .242”, the recommended size range your cap should be in.
In the catalog, there are caps sized at .218” (49-0000218-01000), .223” (49-0000223-01000) and .234” (49-0000234-01000). Choose one of these caps to effectively mask the stud. Don’t be afraid to ask for free samples.
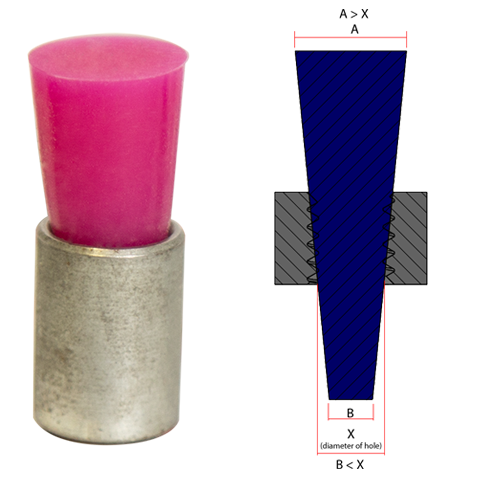
Masking Plugs - How To Choose The Right Tapered Plug
Use the diameter of the hole you are masking to pick the plug. This is done by having the hole size fall in-between the top (A in graphic) and the bottom (B in graphic) dimensions on the plug. You want it to fall close to the middle of the plug so you will have material to pull on and get the plug out of the part that is being masked.
If the hole has a 1.5” diameter, choose the plug that has a top diameter of 1.688” and a bottom, tapered diameter of 1.406” (Part number: 01-0000119-04SIL).
A More In-Depth LooK:
This process is less of a science and more of trial and error. Usually multiple plugs will have to be tested in order to find the one that works for you. However, your best bet is to measure the hole's diameter and go from there. Choose a tapered plug whose tapered bottom diameter is the next size smaller than the diameter of the hole.
For example: say the hole has a diameter of X = 1.5”. Pick a plug that has top and bottom diameters so that 1.5” falls in the middle.
The top diameter should be above 1.5” (A > X) and the bottom, tapered diameter should be below 1.5” (B < X).
So, choose the plug with a top diameter of 1.688” and a bottom diameter of 1.406”. This plug may not work for you depending on your coating process.
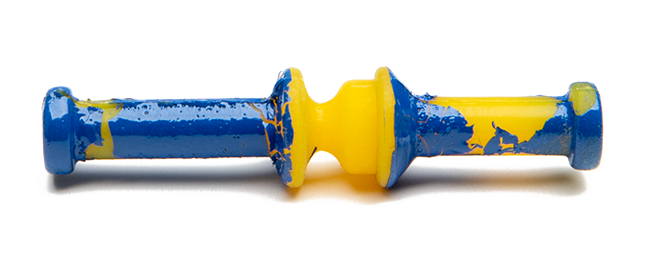
Changing Out Caps & Plugs
Storytime. Todd, a powder coater, puts his caps and plugs into buckets so he can reuse them. Sound familiar? However, Todd usually grabs a cap or plug from the top to use for masking. Not so smart. Those caps get reused too much while the bottom ones get lightly used or not used at all.
Don’t be like Todd. Keep track of and replace your caps and plugs to effectively mask your components and avoid quality defects, failures, and rework.
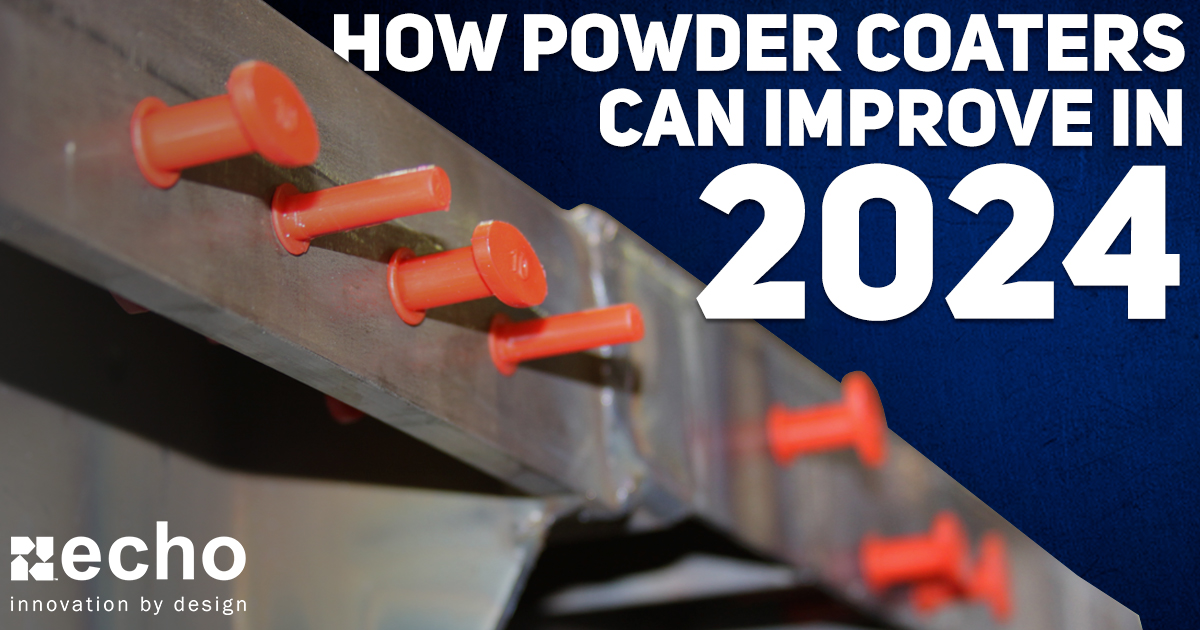
Mask Your Threaded Holes
When working with threaded holes, many customers are required to mask the leading thread to keep it clean. This prevents the paint from getting in the threads, making it easier to start fasteners and avoid costly rework from issues like cross-threading.
There is a variety of different high-temperature masking plugs out there that were developed specifically for this.
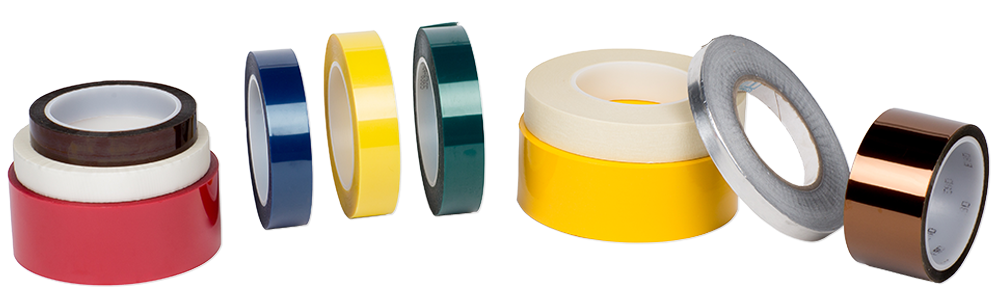
Choosing the Right Masking Tape
If your tape is curling, leaving adhesive on the part you’re coating or falling off altogether, you may be using the wrong tape. There are different reasons why your tape may not be working, so keep these four main factors in mind when choosing the tape for your masking process:
Temperature
Match the temperature rating of the tape to the application. If your finishing process involves high temperatures, you’ll want to go with one of our higher rated tapes like Green Poly (400F), Rusty Red Poly (425F), Polyimide (500F) or Glass Cloth (500F).
Time / Duration in Oven
The typical heat rating of tape is for less than 30 minutes. If you’re heating something for longer than 30 minutes, move up to a tape with a higher temperature rating to ensure it will mask effectively.
Coating & Thickness
Match the thickness of the tape to the thickness of the coating. If you’re using 2 mil of paint, use a tape with a 2 mil thickness.
Surface Geometry
For flat, straight surfaces, use a standard or thicker tape. Green Poly and Glass Cloth tapes are recommended here
For curved, irregular surfaces, use thinner tape. Blue poly tape is recommended here.
For complex geometries, die cuts are also an extremely helpful way to reduce rework. Masking companies, like Echo, can create virtually any shape consistently by building a tool for your application which is more accurate than hand trimming.
IMPORTANT TIP:
When using tape, make sure that the surface you are applying it to is clean and dry. This ensures that the tape stays in place and removes cleanly without damage. After applying the tape, be sure to add pressure to ensure a tight seal is achieved.
Conclusion
When you go to start your next coating process, keep these tips in mind. Following these will help reduce rework and ensure you have a better coating result in the future. If you’re having trouble determining what tape is best for you or what size fits your application, reach out to our team and we will make a suggestion or custom engineer a solution specifically for you.