5 Tips for Removing Masking Tape
- By Echo Engineering
- Oct 27, 2016

Removing masking tape seems simple. You just peel it off, right? Not exactly. There are many things to consider when using and removing tape correctly during your masking process. If you want a perfect removal every time, keep these five tips in mind.
Make sure you're using the correct masking tape.
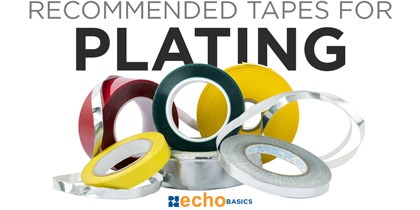
Using a low temperature tape during a high heat process will cause the tape to leave adhesive residue and not mask the area effectively. This, in turn, causes more work since the part will have to be cleaned with chemicals and/or scrubbed to remove leftover residue. Not sure which tapes to use for your masking process? Check out Recommended Tapes for Powder Coating and Which Tapes Do I Use for Plating?
Clean the part.
Before applying the tape, make sure the part you are masking is clean and dry. Oil from manufacturing, dirt or dust all decrease adhesion. A clean part makes for a clean removal.
Use edge-lined poly tape.
Edge-lined poly tape does not have adhesive over the whole surface like regular poly tape does. Instead, only the edges are adhesive, and the middle is paper. This makes the tape easier to remove and reduces risk of damaging the finish.
Use pull tabs.
Having pull tabs on your masking tape avoids damaging the finish. Pull tabs eliminate using an X-Acto knife, screw driver or other tool to pull up the masking tape edge, reducing the chance of damage.
Peel the masking tape off before it fully cools down.
Although this may not be possible for your situation, peeling the masking tape off before your part fully cools down makes the tape come off easier. The tape isn’t seeing as long of a heat cycle and comes off cleaner and simpler.
Want more tips? Find out how to speed up other masking processes or send us a message to discuss your specific masking process.